Here’s a complete tutorial on how to use OBS to record games on Windows & Mac computers. Open broadcaster software is a perfect solution to record games for free right from your Windows and Mac PC.
So often gamers wish to share the PC game play with their friends and other gamers on YouTube or other social media platforms such as Facebook and Twitter. Especially if you are good at a particular style of gaming, you will want to flaunt your skills. OBS lets you record the game progress quite effectively without affecting the overall performance of the computer. What I really love about OBS is that it is not resource-intensive. It sites quietly in the background while you play the game as if it doesn’t even exist. we have given a simple and easy to follow guide on how to use OBS on PC to record games on PC. All you need to do is, follow th instructions given below.
OBS offers to you an incredibly easy to use interface. Even if you are using game recording for the first time, you will be able to use OBS without any difficulties. In this article we learn to record games using OBS.
If you are using iOS device, you can capture the iOS device screen with iOS 11 screen recorder or Vidyo screen recorder.
How to Use OBS on PC (Windows 10/8.1/8/7 & Mac) With Right Sources:
OBS lets you select the source you wish to create the screen recording for. Thankfully, it has the option dedicated to game recording. This makes sure you do not have to alter the settings dramatically. You simply need to tweak some settings depending upon the resolution, fps and bitrate of the game. If you don’t know how to use OBS on PC, Follow these simple steps:
- Launch OBS on your PC.
- Right click on the empty space in the ‘Scenes’ box
- Click ‘Add Scene’ on the pop-up menu. A new scene will appear on the list in the Scenes box
- Select the new scene that you just created.
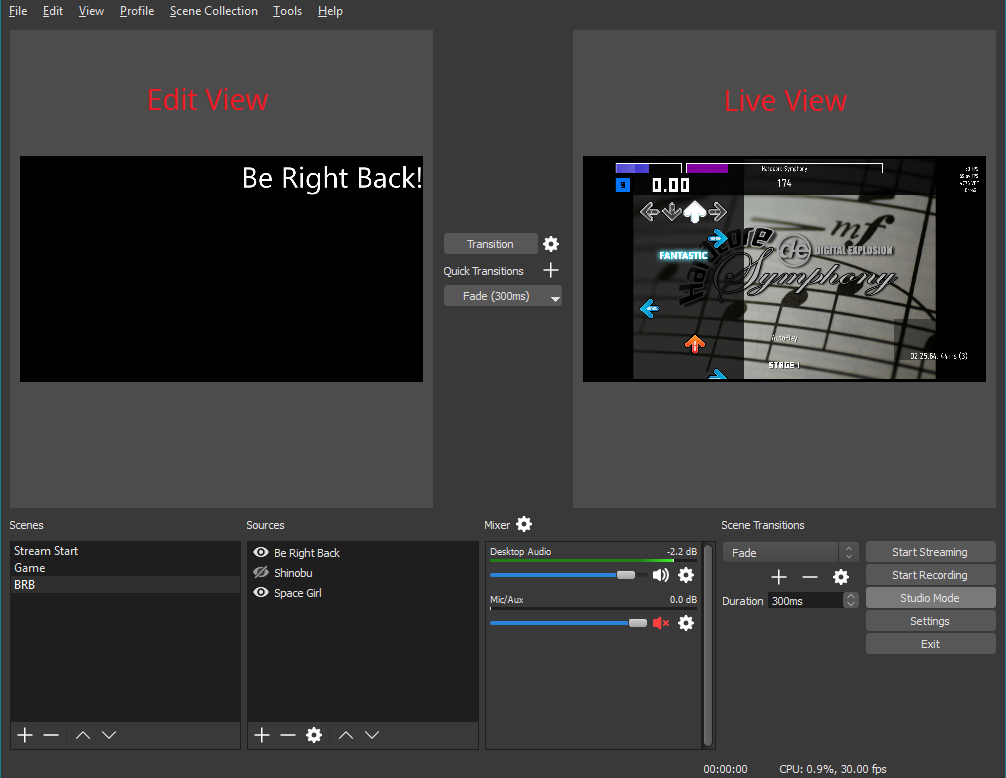
- In the ‘Sources’ box you will see ‘Monitor Capture’ checked by default. Since we need to record a game, we need to add another source. Right click anywhere on the empty space in ‘Sources’ box and hover the mouse over ‘Add’ on the pop-up that appears.
- In the submenu select ‘Game Capture’.
- Enter a new name for the recording in the ‘Please enter a name’ or you could leave it to default value of ‘Game Capture’.
- Game Capture settings preferences dialogue box will appear. On this window, you need to select the game/application you wish to record. You can find the list of all the open applications in the ‘Application’ drop down box.

- If the game isn’t already open, run it and minimize it. Now come back to the OBS’ Game Capture preferences dialogue box. Select the game in the ‘Application’ drop down box. If the game does not appear, press the ‘Refresh’ button next to ‘Application’ box.
- This dialogue box has other, self-explanatory options. Make the choice according to your preferences.
- Click OK.
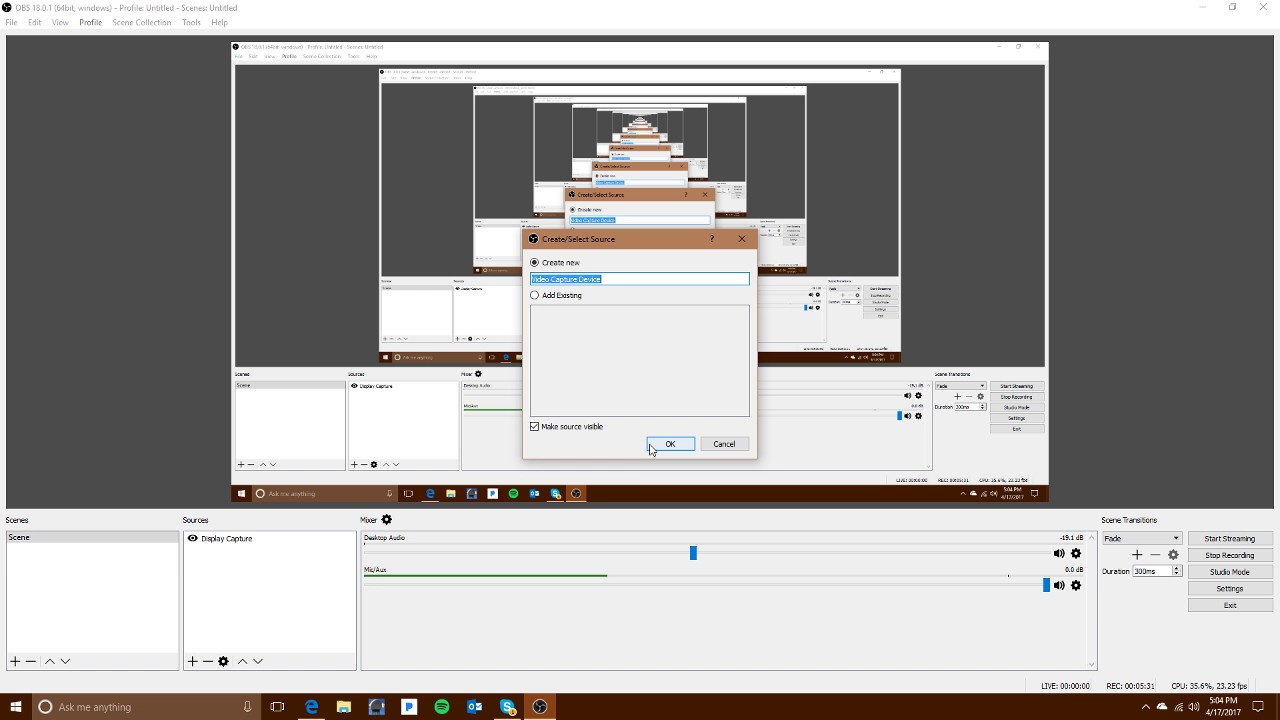
- If you wish to insert a web-cam feed into the video as picture-in-picture mode, click inside the Sources box again and from the Add submenu select ‘Video Capture Device.’ The webcam feed will appear in a small window, which you can position anywhere on the screen
How to Use OBS on PC With Right Settings to Record Games on Windows & Mac Computers:
Next to the ‘Sources’ box, on the right, you will see some stacked buttons. Of these buttons, ‘Settings’ is the most important. It is important to choose the right settings for the video capture to get the desirable results. For instance, you need to choose the right Bitrate corresponding to the fps. Here is what you need to do if you don’t know how to use OBS on your Windows and Mac computers:
- Click the Settings button.
- You will see a list of the options on the left sidebar. Select ‘Encoding’.

- Here, you need to input the appropriate Max Bitrate for Video Encoding and Bitrate for Audio Encoding. If you are not sure what is the right bitrate, visit YouTube support page https://support.google.com/youtube/answer/1722171?hl=en. Expand the Bitrate section on this page and you will see the right bitrate for a particular resolution and fps.

- Depending upon the game settings, enter the appropriate Bitrate values on this screen
- Now click ‘Broadcast Settings’ on the left on the Settings menu. Here, click on the ‘Mode’ drop-down and select ‘File Output Only’ (since we are not live streaming). You can also choose the folder location where you want the recorded video to be saved. This is also the section where you can change the Base Resolution, Aspect Ratio, as well as the fps value.

- Now click the Audio option on the Settings window to make sure you have selected the right audio source if you are planning to add the audio commentary. Make sure that ‘Desktop Audio Device’ is set to ‘Default.’
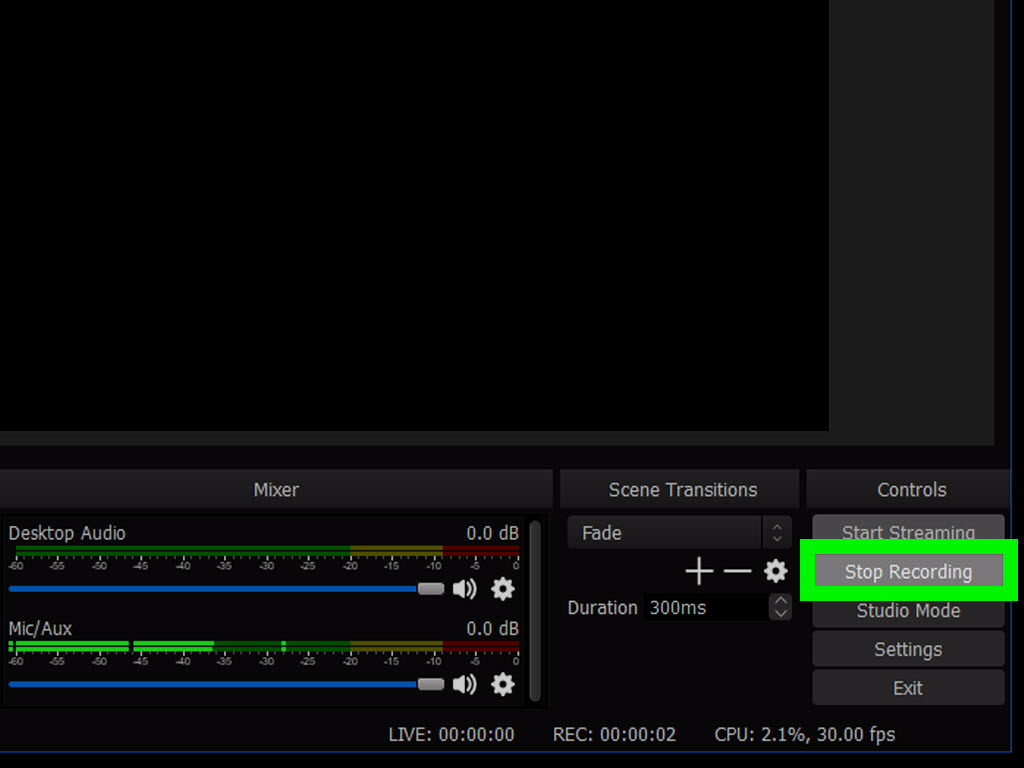
- We are pretty much done now. All you need to do is go back to the home screen of OBS and click on ‘Start Recording’ button. Start playing the game and it will keep getting recorded. Once you are done recording, return to OBS and press ‘Stop Recording’.
Conclusion:
Hope this tutorial has answered queries like how to use OBS on Windows & Mac PC. If you have any issues, feel free to contact us via comments.
Leave a Reply