iOS 11 Screen Recorder : iOS 11 promises to bring many new features, functions and enhancements to your device. It is dubbed by many experts as the best mobile operating system ever to be developed. One exciting feature that Apple introduces with this new firmware is the capability to record screen. None of the iOS versions had this capability before. Earlier, when you had to record the screen video, you needed to download a third-party app. Such an app was not available on Apple’s App Store and hence it had to be side-loaded from the third-party helper applications. With iOS 11, you now have the native ability to record the screen and the feature is built right into the OS. Isn’t it amazing?
A Quick Look At iOS 11 Screen Recorder:
iOS has made sure that screen recording is as easy as it could be. You have no reason to download any unsigned, unofficial third-party app from an external source anymore. All you need is just a press of button to start the recording and another press of button to stop it.
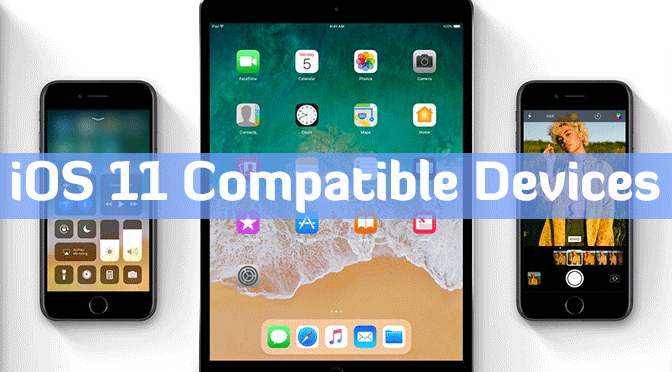
Please remember that screen recording is available only on iOS 11 and not on any other iOS version. Thankfully, a wide range of devices support iOS 11. All you need to do is upgrade the firmware whenever it is available. If you haven’t received the update yet, do not worry; you will receive it soon. To find out if your iDevice is iOS 11 compatible or not, visit the following page and scroll down to the very bottom: https://www.apple.com/ios/ios-11/ . The image given below have complete list of devices supporting iOS 11.

If you are using iOS 10 or below, you have no option except to use some external screen recorders like Vidyo. Of course, these are also working on iOS 11 but we can do more with iOS 11 Screen recorder than third-parties.
Before you get started, you will need to enable this service and add the screen.
How to Add iOS 11 Screen Recorder Toggle to Control Center:
Before you get started, you will need to enable this service and add the screen recording toggle to the Control Center. Here is how you can do that:
- Open Settings app from the home screen.
- Tap ‘Control Center’.
- Select ‘Customize Controls’.

- You will see the list of the apps. Scroll down to ‘Screen Recording’ and tap on it to add iOS 11 screen recorder toggle to the Control Center.

How to Use iOS 11 Screen Recorder on iPhone/iPad:
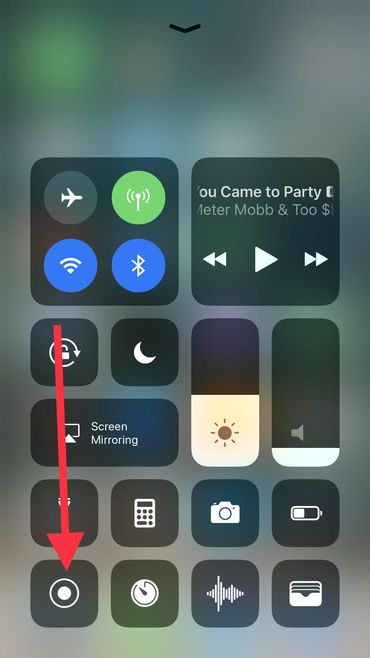
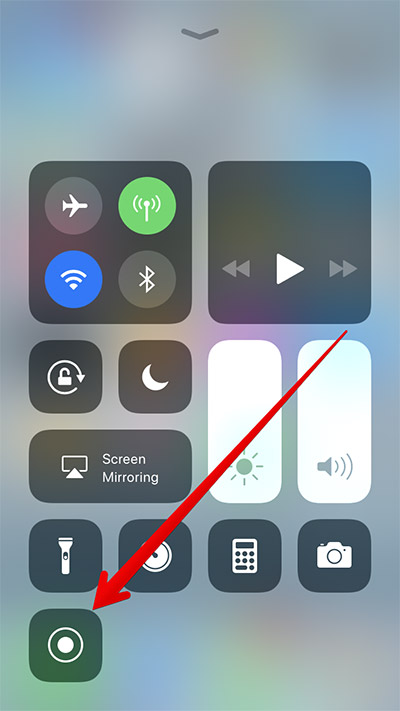
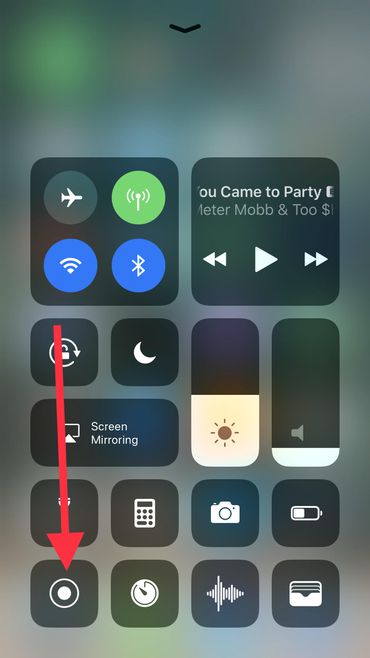
Well, this part is easy. Go back to the home screen and slide up from the bottom to bring up the Control Center. You will see the Screen Recording toggle right there. It is one solid circle inside another unfilled circle.

If you are recording the screen for the first time, you will need to long press the Screen Recording toggle or icon to bring up the options. Next time you will only need to press the button once.
You will see two options on the Screen Recording menu on iOS 11 screen recorder:
- ‘Start Recording’, which you can press to start recording.
- ‘Microphone Audio’, which you can turn on or off depending upon whether or not you wish to record audio from the microphone.
If you have Microphone Audio turned off, the app will record the internal sounds, such as those coming from the apps. If this feature is turned on, you can record external audio, such as voice over.
Device will start recording the screen the moment you press ‘Start Recording’. Have a look on video given below to get basic idea on how to record iOS device screen.
Once you are done recording, you can stop it by either pressing the Screen Recording toggle on the Control Center or by pressing the red bar on the top of the screen, which is activated during screen recording.
Conclusion:
With the inclusion of screen recording functionality in iOS 11, you don’t need to install any external app on your device. Using Screen Recording is incredibly easy. You just need to add the toggle to the Control Center in order to use iOS 11 screen recorder.
Leave a Reply